Happy hump day, crafty friends!
I'm sharing shimmering holiday card on the WOW! Embossing Powder blog today. I featured 5 WOW products and MFT Dies in today's card.
Hope you stop by HERE for more details. Thank you so much for your crafty support as always!
Sale Code
Use [WOWDTDG] at WOW! UK or USA online shop and save 10% of total prize.
Supplies
I'm sharing a listed supplies I used today. Compensated affiliate links are used when possible and if you shop through these links, I'll get a small commission without extra cost to you. Thank you in advance for your support.
Hi, crafty friends!
I'm back with another guest designs for My Favorite Things. I'm featuring MFT Martini Time Stamp Set today and it was so fun to play along!
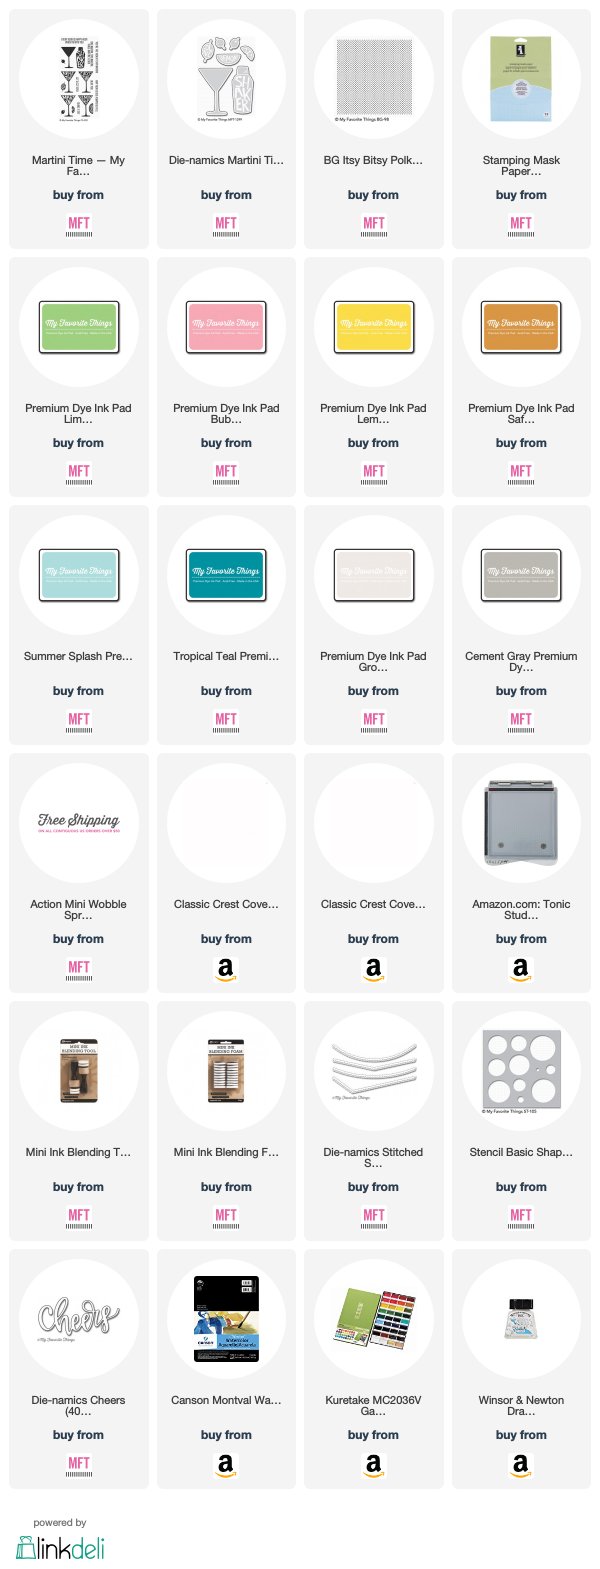
For my first card, I started by stamping the images from MFT Martini Time Stamp Set. I used Limeade, Lemon Drop, Safety Orange, Bubblegum and Grout Gray dye inks for martini glasses, Red Hot, Pink Lemonade, Limelight and Cactus dye inks for small images.
For the shaker, I stamped it with Summer Splash dye ink. Then, I sponged Blue Raspberry and Tropical Teal dye inks to clear stamp using mini blending tool and stamped it again to give it a gradation effect.
I then die cut all images from Inkadinkado Stamping Mask Paper using MFT Die-namics Martini Time.
After masking the images, I stamped MFT BG Itsy Bitsy Polka Dots Background onto the panel as shown in the picture. I used Grout Gray and Cement Gray dye inks.
Next, I die cut the shaker using coordinating die and fussy cut again with scissors. I then applied glitter pen to it and adhered a mini wobble spring behind it.
I pulled out another A2 sized card base and stamped shaker images. I gave them a gradation effect again using Grout Gray, Cement Gray and Steel Blue dye inks. I stamped sentiments from same stamp set using Blue Raspberry and Tropical Teal dye inks as well.
I mounted two card bases each other with a glue tape and adhered some stickers as shown and finished off this card. Now it's time to shake it off!
Here you are. Today's special martini I prepared for you is....
...Espresso martini! Cheers! :)
For this card, I began by watercoloring the galaxy background using Gansai Tambi watercolor paints. I splattered white inks here and there and mounted it on an A2 sized white card base after it dried.
I die cut martini glass using MFT Die-namics Martini Time and colored it with alcohol markers.
Next, I die cut a piece of white card stock using MFT Die-namcis Stitched Scallop Basic Edges. I then stenciled circles from MFT Stencil Basic Shapes-Circles using dye inks and mini blending tool. I also die cut sentiment from metallic gold card stock using MFT Die-namics Cheers.
To finish, I foam mounted the scallop panel using craft foam and double sided tape and glued all elements as shown.
Thank you for joining me today. I hope you've enjoyed these cards featuring FABulous May Release!
If you want to see my previous guest cards, click HERE and HERE.
Supplies
I'm sharing a listed supplies I used today. I'm a part of MFT affiliate program and if you shop through these links, I'll get a small commission without extra cost to you. Thank you in advance for your support.

Challenge
I'm linking up my second card to Coffee Lovers Spring / Summer 2018 Blog Hop.
- When: Friday, May 25 - Friday, June 1
- Time: 6 am pacific
- THEME: Spring | Summer
- USE: coffee, tea &/or cocoa images
- blog: http://coffeelovingcardmakers.com/
- #springsummer2018clh
Hi, crafty friends!
I'm sharing my 2nd projects for MFT as their May 2018 guest designer. (First post is HERE.) Today, I made two cards with bokeh technique using stencil. Here are what I came up with.
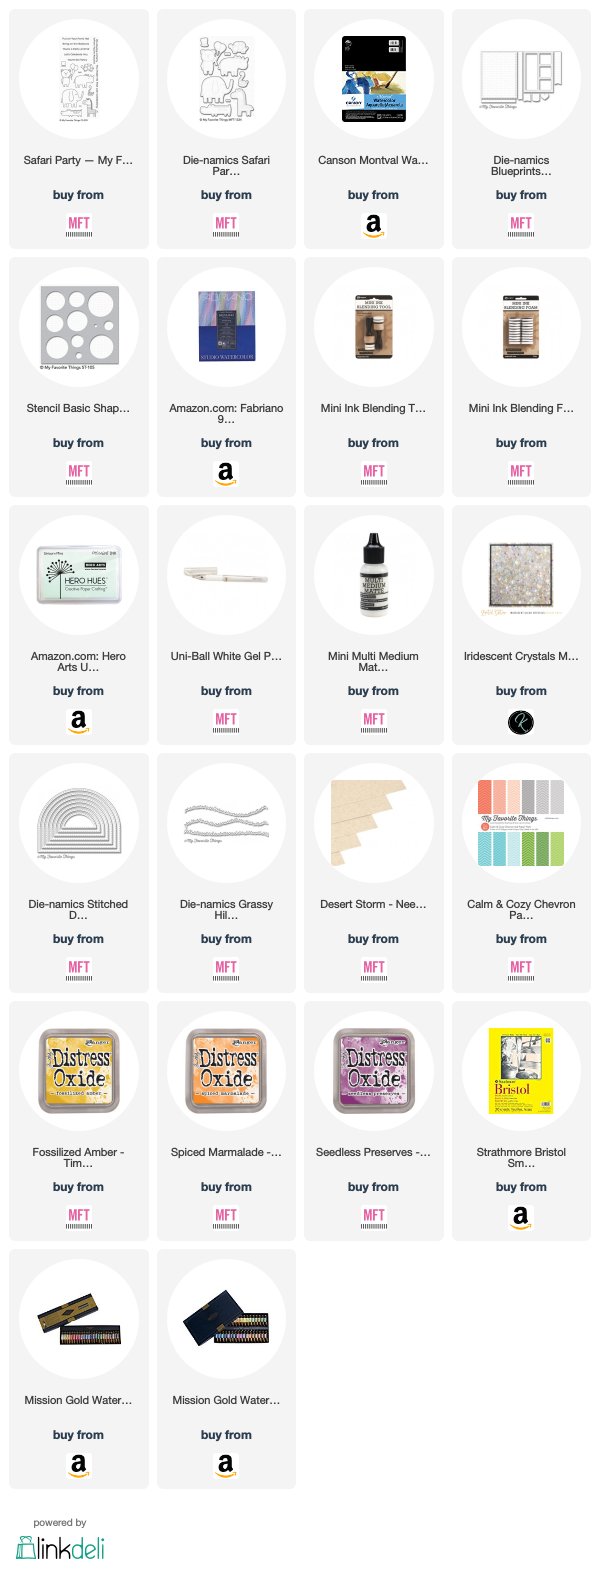
For my first card, I started by stamping the images from MFT Safari Party Stamp Set onto watercolor paper. I watercolored them and cut with MFT Die-namics Safari Party. I white heat embossed the sentiment from same stamp set onto black card stock and cut it with MFT Blueprints 27 and scissors.
I then created my own watercolor background. I pulled out A2 sized cold pressed watercolor paper and spritzed clean water using mister over the whole panel. I applied wet watercolor paints to the wet watercolor paper from light to dark colors. Once my first layer was finished, I spritzed clean water again and repeated previous process 2 times.
After dried it completely, I gave bokeh effect to my background. I sponged various size of circles from MFT Stencil Basic Shapes-Circles with white pigment ink using mini blending tool.
Since stenciled circles became little blurry after it dried, I applied White Gel Pen to few small circles. You can see the result around critters in the next picture.
I foam mounted critters and sentiment bar where I wanted them. I embellished some crystals using Mini Multi Medium Matte Glue and finished off this card.
For my second card, I watercolored animals from MFT Safari Party Stamp Set and die cut them with MFT Die-namics Safari Party.
I then die cut my cover panel from MFT Tranquil Textures Paper Pack (retired) using MFT Die-namics Stitched Dome. I die cut grassy border from MFT Calm & Cozy Chevron Paper Pack using MFT Die-namics Grassy Hills as well.
For background, I pulled out bristol paper and ink blended it with Fossilized Amber, Spiced Marmalade and Seedless Preserves Distress Oxide Inks. I then stenciled some circles from MFT Stencil Basic Shapes-Circles with white pigment ink.
I white heat embossed the sentiment from MFT Safari Party Stamp Set onto a piece of Neenah Desert Storm and cut it using craft knife.
To finish, I stacked up each layers using foam adhesive and glue tape on A2 sized kraft card base as shown in the picture. Here are more close up pics.
I hope you enjoyed today's cards and got some inspiration. Thank you for stopping by and happy crafting!
Supplies
Plus, I'm sharing a listed supplies I used today. I'm a part of MFT affiliate program and if you shop through these links, I'll get a small commission without extra cost to you. Thank you in advance for your support.

Hi, crafty friends!
Today, I'd like to show you my background pencil coloring on the colored paper. I featured Little Acres Creations Cafe Dreamers Stamp Set in this card.
For more details are on the Coffee Loving Cardmakers Blog. Click HERE.
Thanks for visiting my blog today!
Dana
Hello, crafty friends!
I'm so honored to be a part of MFT & Friends May 2018 Release as their May guest designer. YAY! It's been a while introducing my cards through link from MFT blog since I picked MFT Super Star 2016 and I'm super excited!
MFT released so many adorable designs in this month and each ones inspired me a lot and I have two cards to share with you, today.
In my first card, I featured MFT Aussie Animals Stamp Set. To begin, I created my own cover panel using MFT Die-namics Inside & Out Stitched Rounded Rectangle. I die cut small rounded rectangles 4 times from A2 sized Neenah Solar White as shown.
I ink blended each rectangles with MFT Dye Inks and Distress Ink using Mini Blending Tool. I used
- Tumbled Glass Distress Ink, In a Buff for top left,
- Tickled Pink, Spearmint for top right,
- Peach Bellini, Spearmint for bottom left,
- Summer Splash, Tumbled Glass Distress Ink, In a Buff for bottom right.
Next, I stamped images from MFT Aussie Friends with MFT Extreme Black Hybrid Ink onto Neenah Solar White and colored with alcohol markers. After coloring, I die cut them with Coordinating Dies added details using white gel pen. Sentiment from same stamp set was white heat embossed on a piece of black card stock.
I finished this card by mounting the images using glue tape and foam adhesive.
My next card is all about flamingos! New released MFT Let's Flamingle Stamp Set is so lovely and I couldn't resist using all images together in one card.
What I do first when I start a new card is making a background and this time was not the exception.
First, I spritzed clean water over the whole watercolor paper using mister. I then added pink watercolor paints for top and blue watercolor paints for bottom using wide flat waterbrush. I used Mijello Misson Gold Watercolor Paints and Montval Cold Pressed Watercolor Paper Pad.
Once dried, I stenciled clouds on the pink background using MFT Stencil Mini Cloud Edges and Worn Lipstick Distress Ink.
For flamingos and one flower, I stamped images from MFT Let's Flamingle Stamp Set onto watercolor paper with Tattered Rose Distress Ink. I then watercolored them using Mijello Mission Gold Watercolor Paints and added details with Prismacolor Colored Pencils after dried each images completely.
Afer die cutting the images using MFT Die-namics Let's Flamingle, I applied Nuvo Crytal Drops Ebony Black to each eyes and mounted flamingos as shown using foam adhesive and glue tape. I adhered two kinds of embellishments from Studio Katia around the flamingos as well.
I die cut 'smile' from a piece of black paper using MFT Die-namics Sending Hugs. I then stamped sentiment from MFT Let's Flamingle Stamp Set and foam mounted small flower.
To finish, I adhered glossy effect to 'smile' using Nuvo Crystal Drops Morning Dew.
I hope you enjoyed today's cards and got some inspirations.
Supplies
Plus, I'm sharing a listed supplies I used today. I'm a part of MFT affiliate program and if you shop through these links, I'll get a small commission without extra cost to you. Thank you in advance for your support.
Thank you for visiting my blog and reading this post.
Love,
Hi, crafty friends!
I'm sharing shadow box card featuring MFT products, today. I made box card templates by myself and shared tricks and tips for each elements of the box card.
Supplies
I'm sharing a listed supplies I used today. Compensated affiliate links are used when possible and if you shop through these links, I'll get a small commission without extra cost to you. Thank you in advance for your support.

Want know more about this card? I shared step-by-step tutorials with 6 more pics on the Butterfly Reflections Ink blog (click HERE). Thank you so much for stopping by!
Hugs,
Dana


