Happy FriYAY, crafty friends!
Today, I'm sharing two cards featuring several Spellbinders products. I tried new-to-me technique in these cards and it was so much fun! Here are what I came up with.
For my first card, I pulled out two different canvas sheets from Spellbinders Platinum Pack 1. I've tried heat embossing something only onto paper, but I thought it's time to try new one!
So, I stamped Spellbinders Cute as a Button Stamp using embossing Ink onto canvas sheet. I then sprinkled embossing powders as shown and heat set it.
Here is the result! It tuned out like I stamped the sentiment using fabric ink, but I love how it goes well with canvas texture.
I then die cut scallop trim from Spellbinders Sew Sweet Trims (S6-144) from another canvas sheet after I adhered it to double-sided adhesive sheet.
Then, I mounted all pieces on an A2 sized white card stock. To finish, I adhered circle embellishment from Spellbinders Spring Splendor - Card Kit of the Month Club (KOM-APR18) with a ribbon and mounted the panel onto kraft card base.
If you are my continuous crafty friend, you may know I love shaker card, turquoise shades and sparkling things. See? I combined my favorites in one card!!!
I started by die cutting horse using Spellbinders Dala Horse Etched Die from watercolor paper and gold glitter card stock. I then ink blended the watercolor panel and card base with dye inks. I used Lawn Fawn Merman and Guava dye inks.
Next, I white heat embossed images from Hero Arts Sparkle Borders and applied Nuvo Crystal Drops and Ranger Stickles. After it dried, I white heat embossed a sentiment from same stamp set.
I then die cut chevron patterns from double-sided adhesive sheet using Spellbinders Sew Sweet Trims (S6-144). Two are original shape and thinner one is from between two die cuts.
I adhered them where I wanted them and sprinkled sparkles as shown in the picture. I used WOW! Sparkles Jade and Oh Gosh!.
Then, I created a shaker using clear acetate and foam adhesive. For shaker element, I used Studio Katia Spring Gems, Gold Crystals and Golden Copper Stars.
To finish, I adhered glitter dala horse that I created in previous step and mounted watercolor panel on an A2 sized card base.
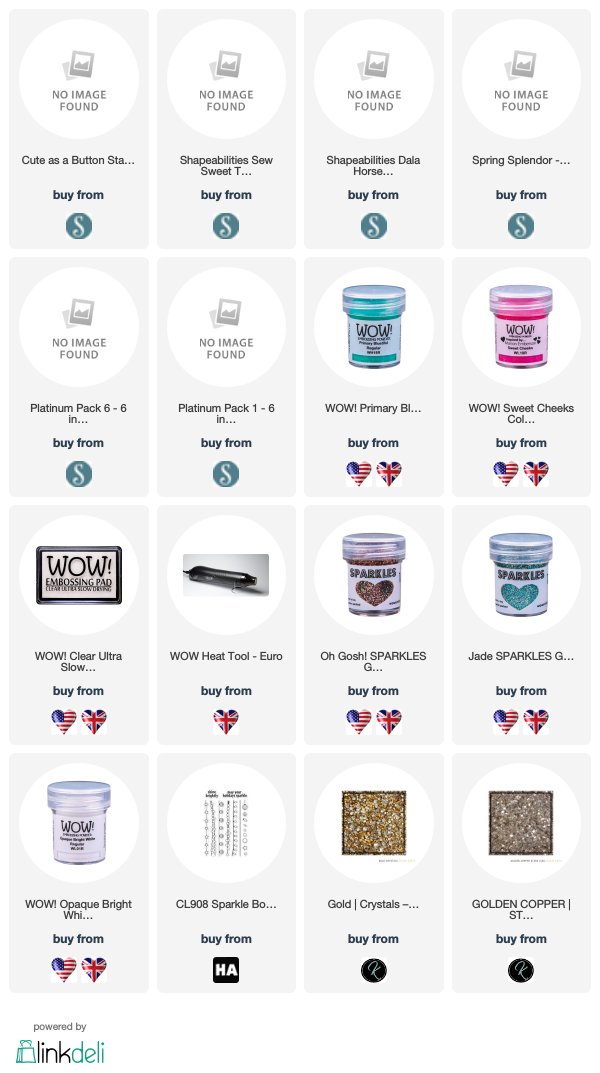
Supplies
I'm sharing listed supplies I used today. Compensated affiliate links are used when possible at no extra cost to you. Thank you in advance for your support.
Winner Announcement
Plus, I'm announcing a lucky winner of my $100 prize pack giveaway! First of all, thank you to everyone who entered my giveaway. I think there are more chances to win upcoming giveaways on my blog, so I hope you stay around!
Total entries including weighted value (blog subscription and IG repost) were 1367 and I picked a number through random.org. That was #1002 and today's lucky winner is.... @smilecards44 on Instagram! Congratulations!! Please email me your name & mailing address at ts2dana at gmail.com with subject line $100 Prize Pack Giveaway Winner by 2018/08/17.
That's all for today! Thank you so much for stopping by!
Dana
Happy Thursday, crafty friends!
Today, I'm sharing no-stamping card featuring some Spellbinders products. It's been a while since I made a card using only die cuts and it was so fun!
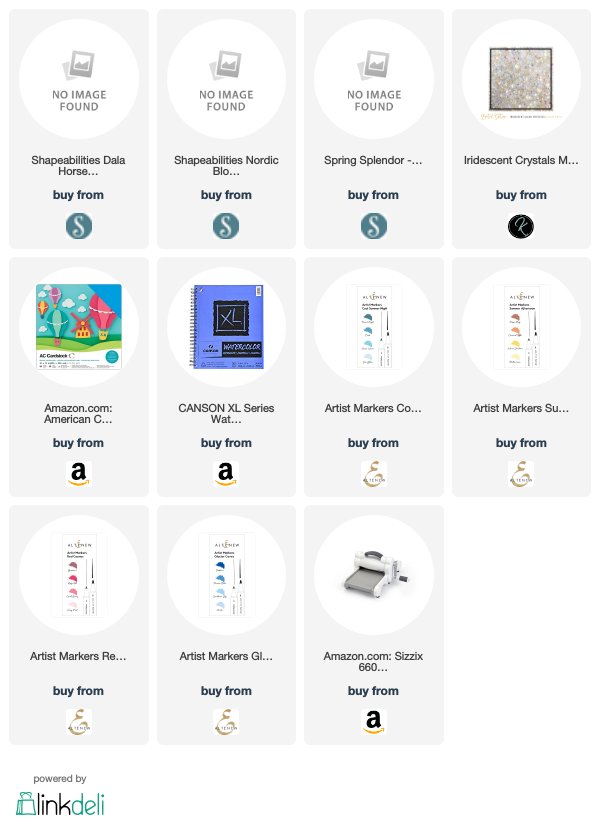
To start, I die cut all images from watercolor paper. I used Spellbinders Dala Horse (S3-328), Nordic Blossoms (S4-885) for horse and flower image and sentiment die from Spellbinder Spring Splendor-Card Kit of the Month Club (KOM-APR2018). I kept each pieces carefully aside and mounted watercolor panel onto A2 sized yellow card stock.
Then, I started to color each die cut pieces using Copic YR07, Graph'it markers and Altenew markers. After coloring, I adhered them using glue tape. There were so many small pieces and I was so happy that I missed nothing.
To finish, I drew blue lines on the bottom using Altenew marker and ruler and applied some white dots here and there using Nuvo Crystal Drops Simply White. I embellished with crystals from Studio Katia and finished off this card.
Dana
Supplies
I'm sharing a listed supplies I used today. Compensated affiliate links are used when possible and if you shop through these links, I'll get a small commission without extra cost to you. Thank you in advance for your support.
Happy Monday, crafty friends!
I hope you had a great weekend and Easter Day. Spring is definitely in the air here and cherry blossoms and other spring flowers I met outside made me happy everyday.
Today, I'd like to share spring themed cards featuring Spellbinders Kit of the Month April 2018. Their monthly kit contains lots of amazing elements and you can make at least 10 cards using only this kit. April theme is 'Create your own glorious card' and here are what I came up with.
I tried several options while I played along with this kit. From right to left, I used only this kit, added other coloring mediums and teamed up with other Spellbinders die with the kit.
The meaningful effort I did for this card was just trimming the patterned paper as shown in the picture and foam mounted it on the white card base. 10 set of card base and envelope is included in the kit with foam tape and double-sided tape.
Each clear embellishment is covered with protective film and don't forget to peel off them before sending out your card :)
For next card, I began by die cutting flowers, butterflies and dragonflies from Spellbinders Kit of the Month April from watercolor paper several times. I glued them here and there onto A2 sized watercolor cardstock from my stash.
I then sponged Seedless Preserves, Victorian Velvet, Mermaid Lagoon, Scattered Straw and Abandoned Coral Distress Inks using mini blending tool. I added white dots where I wanted them using white gel pen as well.
I die cut beautiful gold frame from Spellbinders Kit of the Month April. I mounted 'hello' sticker on a piece of white paper and cut it with small white blank using scissors.
To finish, I mounted all elements as shown using glue and foam adhesive.

For my last card, I began by cutting some patterned paper from Spellbinders Kit of the Month April. I glued floral paper on the white card base and foam mounted green piece as shown after fixing white ribbon with double-sided tape.
I die cut rectangle panel using Spellbinders Radiant Rectangles Etched Dies from white card stock. I then die cut others from the April kit.
Before mounting the key image on the panel, I stenciled butterfly image using negative piece from previous die cutting. For stenciling and a piece of flower in the picture, I used Worn Lipstick Distress Ink and mini sponge dauber.
I hope you enjoyed my cards and got some inspirations. Thank you for visiting my blog today!
Plus, I'm sharing a listed supplies I used today. I'm a part of Spellbinders affiliate program and if you shop through these links, I'll get a small commission without extra cost to you. Thank you in advance for your support.
Here is full image of April kit. If you are interest in other Spellbinders Kits, click images below.
Happy Sunday, crafty friends!
Today, I'd like to share some fun cards using Spellbinders Die D-Lites collection.
In my first card, I featured Spellbinders Die D-Lites Weekend Grill Etched Dies.
I started by ink blending the A2 sized watercolor paper with Distress Inks. I used Chipped Sapphire, Salty Ocean, Blueprint Sketch, Black Soot, Vintage Photo and Ground Espresso.
I spritzed water using mini mister and removed water droplets with a paper towel. I also splattered white drawing ink here and there and let them dried.
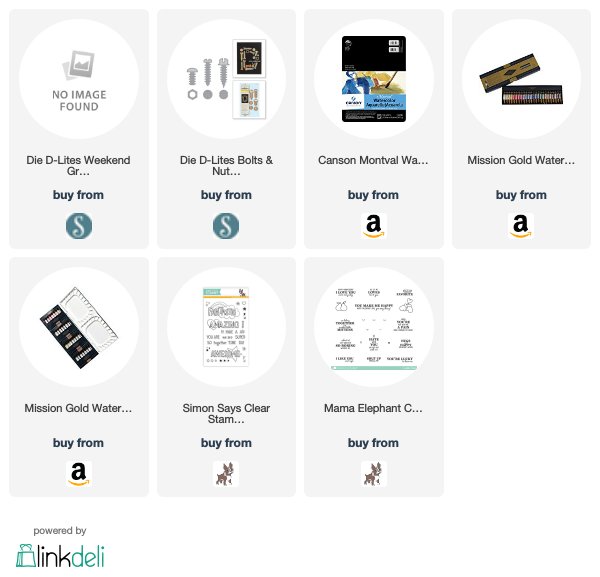
I then die cut every elements of Spellbinders Die D-Lites Weekend Grill Etched Dies from white card stock and metallic silver card stock. I colored them Copic markers and Mijello Mission Gold Watercolor paints and glued each other.
I also added some details on the bottle and pork which I freely cut with scissors by water coloring. These are grilled pork belly called Samgyeopsal and liquor called Soju in Korean that make me mouth water always :)
I white heat embossed the sentiment and added yellow watercolor paints inside of star. To finish, I mounted all pieces as shown in the picture.
Next, I tried to make CAS style card. It's been a long while since I made a card without extra layers, foam adhesive and sparkling embellishments, so it's a challenge for me.
To start, I die cut bolts and nuts from white card stock using Spellbinders Die D-Lites Bolts & Nuts Etched Dies. I then colored them with alcohol markers, cool grey shades. I die cut another pair from gold metallic card stock as well.
I drew magnet with Copic multi liner using small washi tape's donut shaped body and ruler. I colored it with Copic markers.
I then stamped sentiment and mounted nuts and bolts using glue as shown in the picture.
I hope you enjoyed today's cards and got some inspirations. Happy crafting!
Love,
Dana
Supplies
Plus, I'm sharing a listed supplies I used today. I'm a part of Spellbinders affiliate program and if you shop through these links, I got a small commission without extra cost to you. Thank you in advance for your support.
